New contacts at GTM

Successful sales means always thinking from the customer's perspective. After customer behaviour has changed significantly in recent years, we have decided to restructure our sales department.
» [En savoir plus]
GTM
Testing and Metrology
Philipp-Reis-Straße 4-6
64404 Bickenbach
Allemagne
Telefon +49 6257 9720-0
Fax: +49 6257 9720-77
contact@gtm-gmbh.com
www.gtm-gmbh.com
GTM Praha s.r.o.
Prosecká 811/76 a
19000 Praha 9
République Tschèque
Telefon: +420 28 6891392
Fax: +420 28 6891392
gtm@gtm.cz
www.gtm.cz
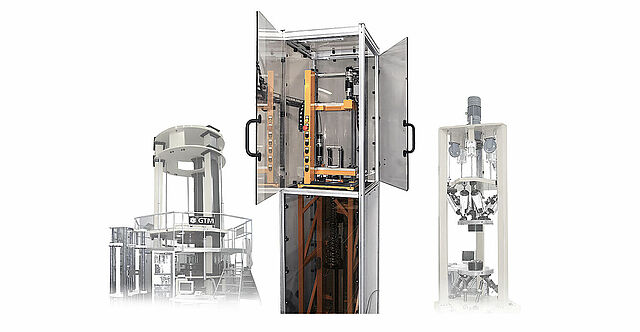
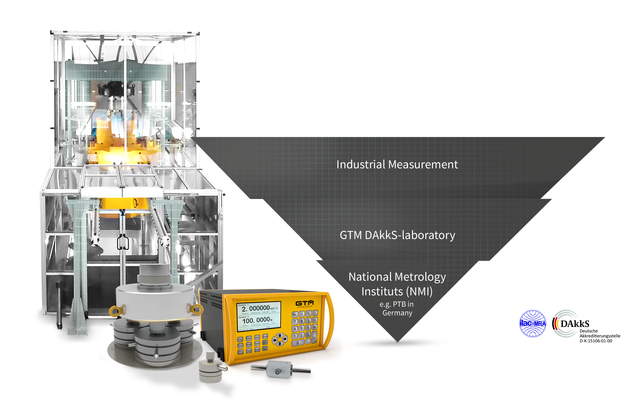
The most pretty, best, biggest – superlatives are common. Often pure exaggeration, however, sometimes simply a factual description. An example: the 10MN-K-BNME (Force Standard Machine) of GTM. This can be equally offered with two real superlatives. As the largest Force Standard Machine for tensile and compression forces in a private enterprise company worldwide. And as a module for the largest accredited force measurement range in the effective sector of the German accreditation body DAkkS. This due to the Force Standards Machines of 100 N to 10 MN in the calibration laboratory of GTM.
Furthermore, the calibration laboratory also indicates how the force sensor can be especially efficiently calibrated using large nominal loads. The problem thereby is known: The cost of manufacturing the adaptation parts required is enormous, in particular for tensile force calibrations on the 10MN‑K‑BNME. The solution from GTM: provide different standardized attachment parts in the calibration laboratory for calibrations in the range up to 10 MN.
Compression force transducers are available in two versions, excluding exceptions. Version 1: both surfaces of force application are flat and plano-parallel. Version 2 (the most frequent version): one of the two surfaces of force application is flat, whereas the other is spherical.
In order to apply the force vector exactly at the centre, in the first case, additional compression force adaptations are utilized with spherical force application. Adaptations for forces up to 3 MN (Ø = 200 mm) and up to 10 MN (Ø = 360 mm) are available.
In comparison to compression force transducers, tensile force transducers feature a significantly greater variation in the connection dimensions. It is generally differentiated between three installation situations:
Installation situation A: the customer supplies all attachment parts required. Thereby, it is tensile rods for the application of force using spherical shells/ball nuts.
Normally, the designs are in accordance with the international standard ISO 376. Intermediate rings as specified in the standard are available in the laboratory for nominal loads 2 MN, 4 MN and 6 MN. Firstly make sure of sufficient length of the tensile rod. Secondly, of the maximum tensile rod diameter for implementation by the machine crossbeams (max. Ø 220 mm).
Installation situation B: the customer supplies a force sensor with internal thread.
Internal threads on the force transducers in accordance with ISO 376 can be adapted for 2 MN, 4 MN, 6 MN and 10 MN by the tensile rods of the laboratory using spherical shells/ball nuts. Prerequisite: The force sensors must have minimum internal lengths of thread as specified in the ISO 376. If the internal thread does not conform to the standard, it is imperative to manufacture or provide an appropriate thread adapter.
Installation situation C: the force sensor supplied by the customer has an external thread.
Experience has shown that an external thread is best adapted to the existing laboratory tensile rods using threaded sleeves. The laboratories own threaded sleeves, in accordance with ISO 376, with two-sided M 90x4 for adaptation of 2 MN sensors and M 125x4 for adaptation of 4 MN sensors are available in the laboratory. If the external threads do not conform to the standard, manufacture or provide appropriate threaded sleeves.
All installation situations are available on the GTM Website in the form of measurable 3D-PDF-Downloads. Thus, GTM provides their customers with the option to previously check the installation situation in the calibration laboratory based on the dimensions of their force transducer.
Downloads:
Brief description 10 MN-K-BNMW (DE)
10 MN Adaption tensile force (DE/EN)
10 MN Adaption compression force (DE/EN)